Disinfection
- In preparation, you will need two zip lock bags kept in the clean field
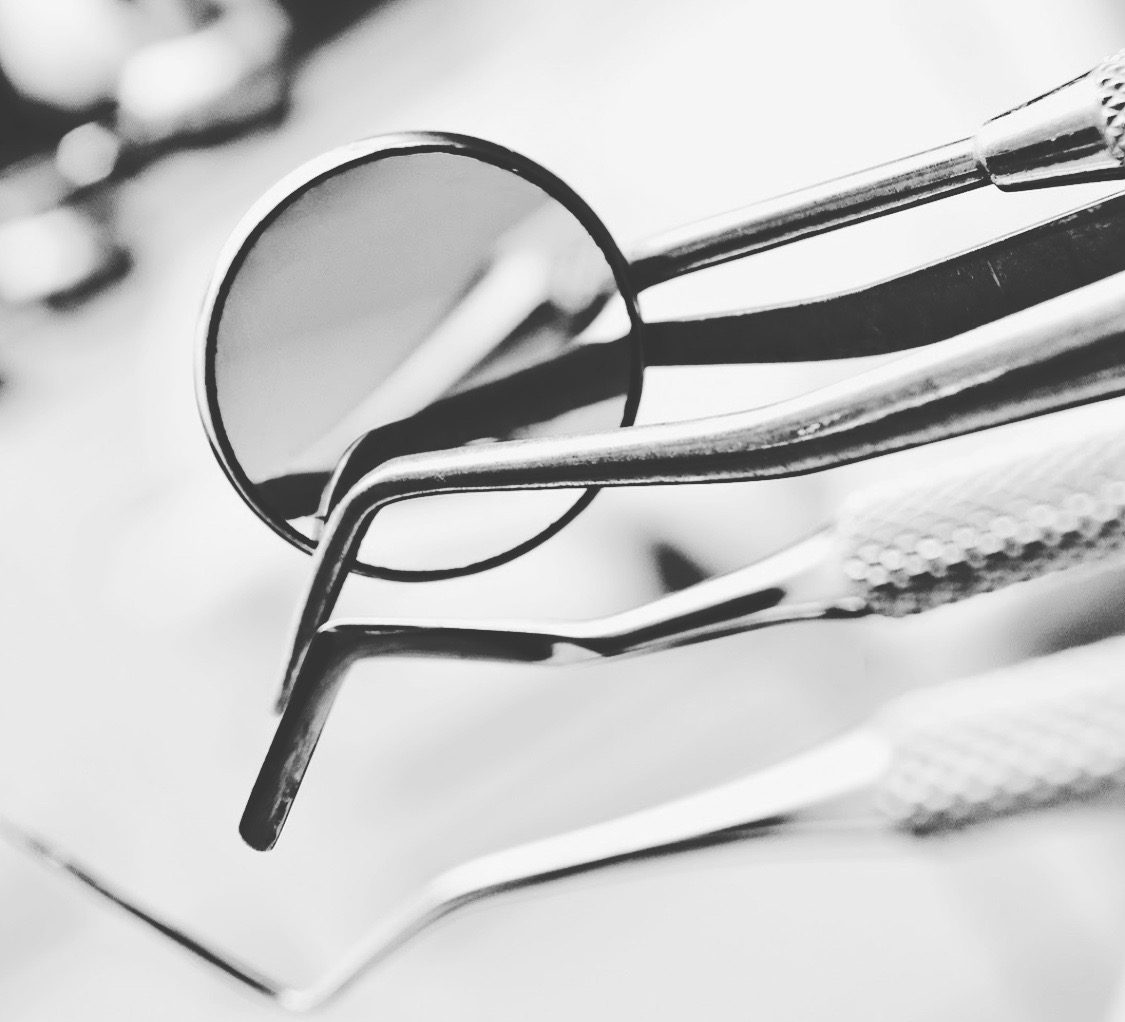
- Take impression and place contaminated trays on the bracket tray
- Once impressions have been evaluated and ready to disinfect, with clean, sanitized hands, take one zip lock bag turned inside out, pick up impressions and fold into the inside of the bag (outside stays uncontaminated), and zip shut
- Take two pairs of exam gloves, a mask, the other clean zip lock bag along with the bagged impressions and transport to the reprocessing room
- In reprocessing room, drop impressions from the bag into the sink and place the bag on a piece of paper towel on counter area
- With clean hands, pour Biosurf into the bag and place the bag into the sink
- Put on PPE and rinse impressions well under running water then place inside the bag with Biosurf to be submersed for a minimum of one minute
- After submersion, with new PPE, rinse the impressions in the sink under running water and place the disinfected impression tray on paper towel on counter area
(If more than an hour before impressions will be poured up, wrap in damp paper towel on counter area)
- Remove gloves, perform hand hygiene, take the clean baggy with clean hands, place disinfected trays inside baggy (can turn bag inside out as previously done then seal shut for transporting to the lab)
Taking Impressions
Collect armamentarium for Alginate impressions
- Fast set alginate powder (measured amount) in paper cups
- Water measure (filled with room temperature tap water from the unit sink)
- Plastic disposable (or metal) alginate impression trays
- Alginate mixing bowl
- Alginate spatula
- Wax bite wafer/sheet for bite registration and periphery wax
Preparation
Gather all necessary supplies (with clean sanitized ungloved hands) and place on the counter behind the client head (non-contaminated/clean field area) of the cleaned, disinfected and barrier unit:
- Seat client in erect position, (eye to ear plane parallel to the floor) update medical history
- Explain procedure to obtain informed consent: technique, consistency of the material, and the length of time.
- Drape client with bib napkin and provided eye ware and request the client have the pre procedural rinse
- Clinician to apply PPE
- Conduct an E0/IO examination to determine impression tray sizes
- If necessary) place on the periphery wax, and or try in trays for correct fit (once tray is place intra oral- it is contaminated-must be place on bracket tray)
- Take wax bite registration first, then mandibular followed by the maxillaryalginate impressions
Show caring and empathy to the client during the procedure, and if required instruct the client breathing deeply through his/her nose will help relax, have the client use hand signals to communicate and thank him/her for their cooperation.
Wax Bite Registration
- Place wax bite wafer (horse-shoe shaped) in the mixing bowl filled with hot tap warm until pliable
- Explain the procedure and obtain informed consent – provide client with instructions on closing into the wax bite material
- Place the wax (horseshoe) wafer onto the occlusal surfaces of the mandibular teeth.
- Request the client to bite gently yet firmly into the wax.
NOTE: If the client bites too firmly, they may distort and tear the wax. If not firmly enough, the teeth may not make adequate indentations in the wax
- Allow wax to cool in the client’s mouth for approximately1 minutes.
- Have the client open with a straight snap to avoid distortion of the wax.
- Place wax bite registration on the bracket tray and dump water into the unit cuspidor
- Dry mixing bowl with paper towel
Manipulate and Loading Alginate Impression Tray
- Always take mandibular impression first.
- A correct water/powder ratio is always necessary for a “good mix”. Remember that the temperature of the water affects the working and setting time of the alginate.
- Using room temperature tap water is always best.
- Tap Water is measured and placed in bowl
Water/powder ratio is 1:1=one scoop of powder to 1/3 measure of water
- adult mandibular impression –two scoops of powder
- adult maxillary impression –three scoops of powder
- Sift the powder into the water
- Stir to wet the powder
- Once powder is moisten, the alginate is mixed with vigorous action that squeezes the material between the blade of the spatula and the side of the mixing bowl. When mixing is completed (within 30 sec to 1 min) the alginate must be a smooth, creamy consistency that does not flow off the spatula- inadequate or improper mixing may result in a grainy and/or “bubbly” mix which causes poor detail in the impression. Wipe the alginate mix into one mass on the inside edge of the bowl, divided as needed.
- Load tray
Taking Impressions
Mandibular Impressions
- Clinician to stand in front of the client (at 8:00/4:00 o’clock position)
- Ask the client to open their mouth slightly; too wide an opening will cause tension on the cheeks.
- Slowly rotate the tray in the mouth
- With the free hand grasp the lower lip and continue to insert the tray completely.
- Line the front of the tray (frenum area) with the frenum in the mouth
- Seat the posterior of the tray first.
- Be certain the teeth are centered in the tray, and then seat the tray slowly but firmly in place. Take your time.
- Seat the tray until 1 to 2 mm of the alginate separate the teeth from the tray.
- Hold the tray in place until the alginate is set. Never take your hands out of the client’s mouth or turn your back on the client.
- When the alginate is set, break the peripheral seal gently, and remove the tray with a quick snap making sure to protect the dentition by placing your fingers on the top of the tray. This will prevent the metal tray from hitting the opposite arch and fracturing a tooth. Gently break the seal by moving the inside of the client’s cheek or lips with your finger.
- Examine the impression to ensure that all anatomy and associate structures are imprinted in the impression.
Maxillary Impressions
- Clinician to stand behind or to the side of the client (11-12/12-1pm o’clock position)
- Slowly rotate the tray into position, making sure it is centered.
- Seat the posterior of the tray first
- Hold onto the upper lip with the free hand and pull it up and out of the way of the anterior portion of the tray.
- Slowly but firmly seat the tray.
- Seat the tray until 1 to 2 mm of space separate the incisal edges of the tray surface from the teeth
- When the impression has set, break the peripheral seal gently and then remove it with a quick snap making sure to protect the dentition by keeping a finger in between the maxillary and mandibular teeth. This will prevent the metal tray from hitting the opposite arch and fracturing a tooth. The peripheral seal can be broken by placing a finger along the lateral borders of the tray and push down to break the palatal seal.
- Evaluate impression
NEVER REMOVE ALGINATE FROM A CLIENT’S MOUTH BEFORE IT IS FULLY SET.
THE CHANCE OF CHOKING WILL INCREASE DRAMATICALLY.
Glaze and Smear Techniques
Glaze technique involves smoothing a wet finger along the surface of the loaded impression tray. This will help create a smooth surface on the impression. Water is contained in dixie cup and discarded in
the unit cuspidor. Smear technique involves taking excess alginate from the bowl and smearing over areas of the dentition or soft tissues that are critical for the impression and may be difficult to reach. This will help create less discrepancy in the anatomy. The combination technique involves using both the smear and glaze technique together when taking an impression.
- Once taken the Alginate impression trays is to be placed on bracket tray
- Alginate bowl and spatula (moved to bracket tray after use)
- Alginate impressions are examined for accuracy – this involvesgently rinsing the impression under cold water to remove any blood or saliva. Place impression over the cuspidor (using dixie cup of water) or rinsed in an additional alginate bowl of water.
- Before dismissing the client, provide hand mirror and a moist facial tissue to remove any alginate from the client’s face and lips: examine the client’s oral cavity for any remaining fragments of alginate and remove them as needed.
- Document in the client’s clinical notes/file- the number of impressions taken (set)
material used, tray size, wax bite registration, client’s tolerance to the care provided-
if gaging/ strong gag reflex and any techniques required to avoid an adverse situation
- remove client bib, eye- ware and clinician’s PPE, escort client out to reception area
Clean up following care:
- Place on PPE including utility gloves
- Place all equipment into the covered plastic container (found at each unit) for transport to the instrument reprocessing area.
Mixing Bowls
- Wipe with paper towel to remove all debris- place debris in garbage
- Disinfect with disinfectant wipe (inside and out) and leave to dry in designated area
Spatula
- Wipe with paper towel to remove debris
- Place in labeled sterilization bag with Class V integrator
Water measure
- Dry with paper towel
- Disinfect the disinfectant wipe (outside only) and return to designated area
Dental Unit
- Sweep floor area with broom and examine dental chair, cuspidor…closely for alginate-make sure the area is clean (brooms are found in the pump room)
- Remove surface barriers, clean and disinfect the unit, and covered plastic carrying box.
